Clearing the Air: A Guide to Home Allergen Air Testing for Healthier Living
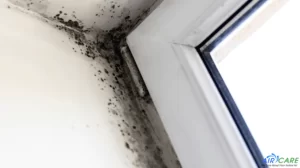
Mold is a silent intruder that can wreak havoc on your home, your health, and your peace of mind. Its presence often signals a disaster in the making, but the journey from initial discovery to complete restoration can be a daunting one.
In this article, we will take you through the essential steps of mold removal and restoration, helping you to navigate the process and turn your home from a disaster zone to a place of renewal.
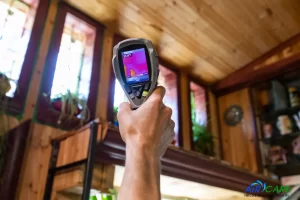
Step 1: Inspection and Assessment
The first and most crucial step in the mold removal and restoration process is a thorough inspection and assessment. It’s essential to identify the extent of the mold problem and the causes behind it. A certified mold inspector can help determine the type of mold, its source, and the affected areas. This step is critical because it forms the basis for creating an effective remediation plan.
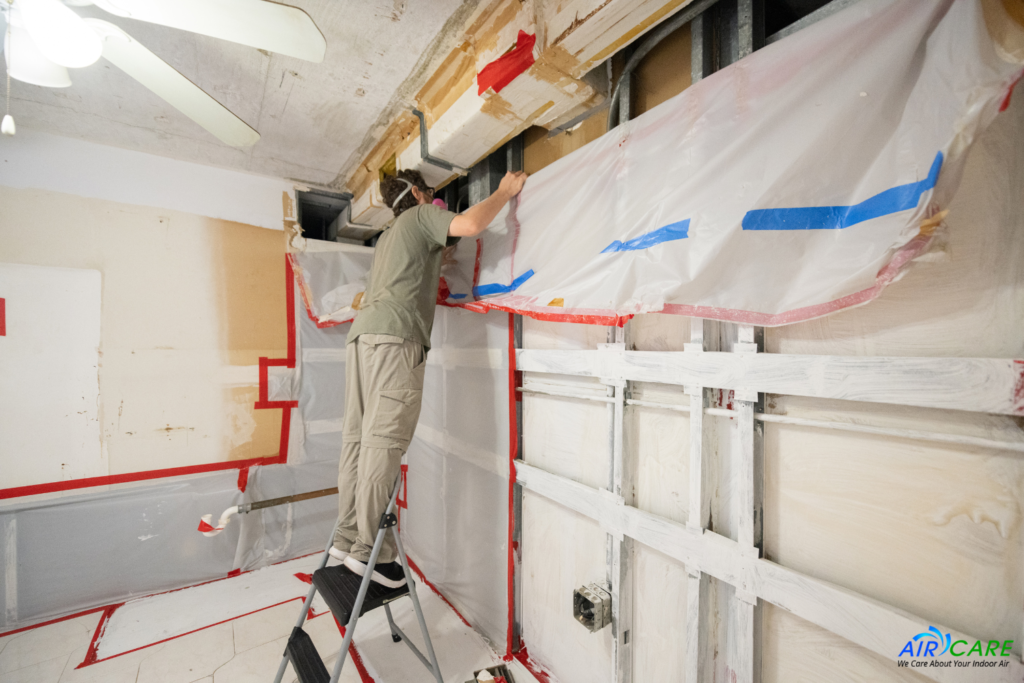
Step 2: Remediation Plan
Once the inspection is complete, a mold remediation plan is developed. This plan outlines the scope of work, the methods to be used, and the timeline for the project. The goal is to isolate and remove the mold while preventing its spread to unaffected areas. Depending on the severity of the mold infestation, this may involve containment measures, such as sealing off contaminated areas and using negative air pressure machines to prevent mold spores from escaping.
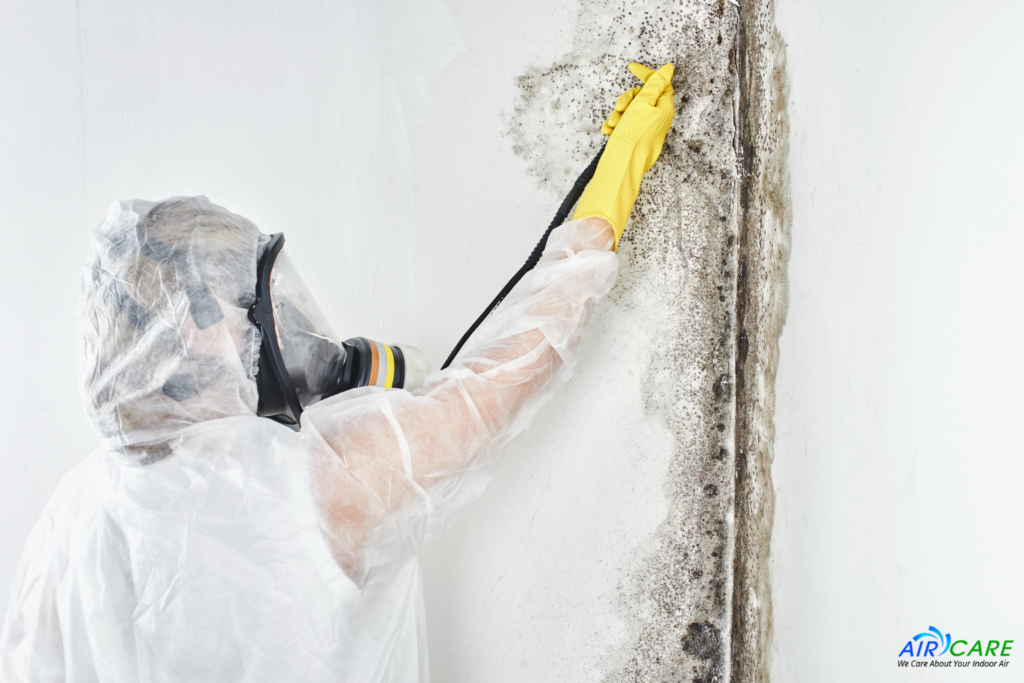
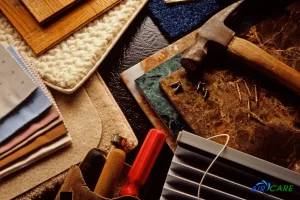
Step 3: Mold Removal
The actual removal of mold is a meticulous process that should only be carried out by trained professionals. They will wear protective gear, use specialized equipment, and follow industry best practices to safely remove mold from surfaces and materials. Porous materials, like drywall or insulation, may need to be removed and replaced, while non-porous surfaces can often be cleaned and restored.
Step 4: Drying and Dehumidification
After mold removal, it’s crucial to ensure that the affected areas are thoroughly dried and dehumidified. Mold thrives in damp environments, so reducing moisture levels is essential to prevent its return. Industrial-grade dehumidifiers and fans may be used to expedite the drying process.
Step 5: Repair and Restoration
With the mold removed and the affected areas dry, it’s time to repair and restore your home. This step can involve rebuilding walls, replacing flooring, and repainting. It’s essential to use mold-resistant materials wherever possible to reduce the risk of future mold growth.
Step 6: Post-Remediation Testing
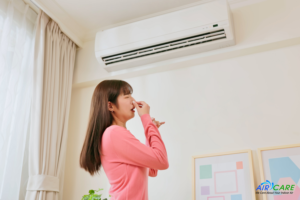
Home allergen air testing is a powerful tool for understanding and improving indoor air quality. It allows you to identify specific allergens and pollutants that may be affecting your health and the well-being of your family. By taking informed actions to reduce these contaminants and maintain a healthier living environment, you can breathe easier and enjoy a higher quality of life within the comfort of your home. Don’t underestimate the importance of clear air in creating a healthier and more comfortable living space.
Step 7: Preventative Measures
Mold removal and restoration are not just about addressing the immediate problem; they are also about preventing future mold growth. Regular maintenance, proper ventilation, and moisture control are essential to keep mold at bay. Consider investing in a good quality dehumidifier and using exhaust fans in areas prone to moisture, like bathrooms and kitchens.
Conclusion
Mold removal and restoration can be a challenging journey, but it’s a necessary one to ensure the safety and well-being of your home and your family. From the initial inspection to the final post-remediation testing, each step is critical in turning a disaster into a story of renewal. By following these steps and enlisting the help of professionals when needed, you can take control of your home’s destiny and transform it into a mold-free sanctuary. Remember, with the right approach and diligence, you can go from disaster to renewal, making your home a healthy and comfortable place once more.